Hello, internet! It's been an embarrassingly long time. This could be due to the exciting fact that I am no longer unemployed! In fact, I now have two jobs. One is a not-very-exciting seasonal position at a major retail store, the other is a much more exciting permanent position at a yarn shop! Three exclamation points in five sentences, can you tell I'm excited about this? In addition to getting to sit around and knit for most of the day, and having an awesome discount, I'm learning a lot about yarn and knitting techniques. I can take any class I want for free (education to better help customers), and I get to meet a lot of cool ladies. Luckily, the fact that I now work at a knitting shop hasn't at all slowed down my craft productivity. Here are some things I've been working on:
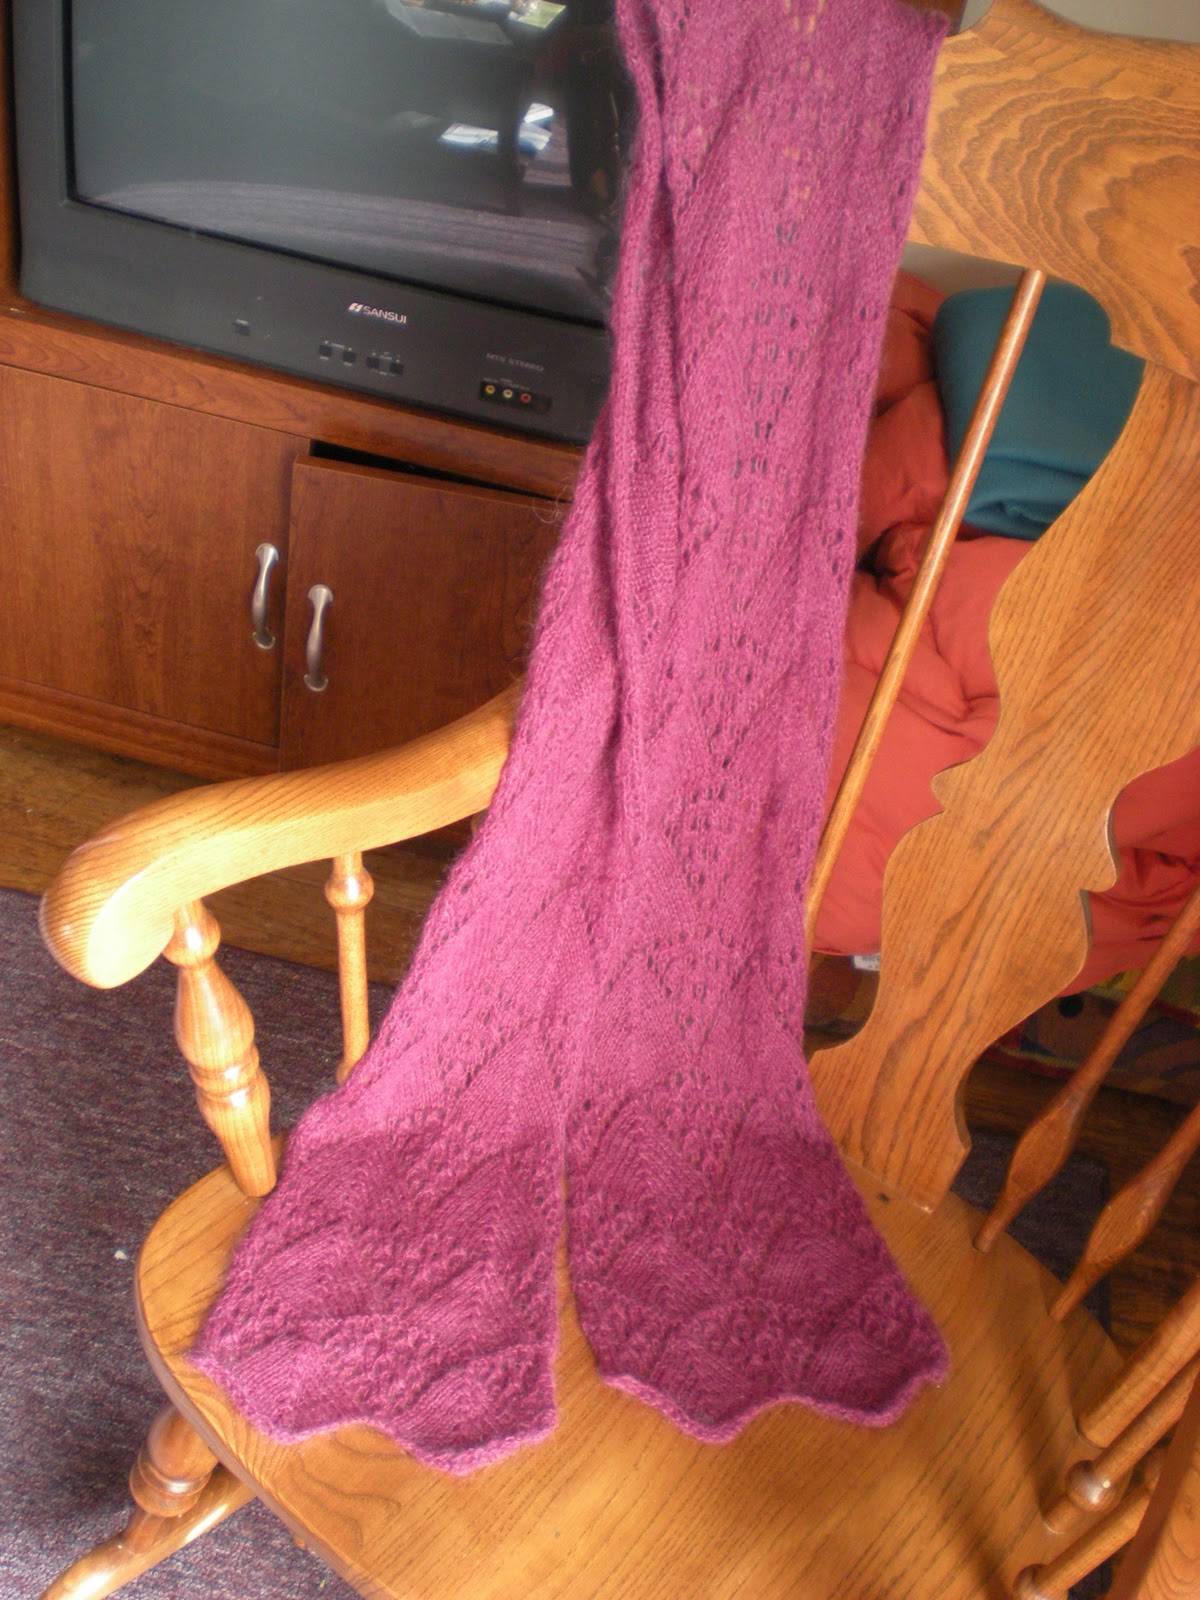
I had this project on needles for FOREVER. Seriously, like a year and a half. I started it when I went to France for a semester, as I knew there would be lots of train time to work on something. After setting it down and picking it up I don't even know how many times, I finally got the big push to finish it when my now-boss called me up to schedule an interview at the shop, and requested that I bring a couple pieces to show off my knitting skillz. Since I didn't really have any of my finished products available, I got to knitting and finished two projects, this one and a gray wrap/scarf:
With these two projects I was deemed worthy to work at the yarn shop, and started the following week. Being surrounded by yarn and beautiful knit things all day has only inspired me to come up with project after project. It seems like for every project I start, I find five more that I want to do. My favorite so far has been these cabled fingerless mitts:
Though they may look complicated, they were surprisingly easy, with just enough detail to keep me interested. Currently I'm working on a hat for Eric, which has detachable ear flaps, a knit version of my magic deck pouches and a shorter pair of lacy fingerless gloves. I've got countless projects on my mental list, including both stuff for myself and Christmas gifts. I should really get going on the latter! Good thing I get two days a week at the yarn shop to keep me focused...
In other news, I've been able to keep up the domesticity, despite my new jobs. I won an epic battle against fruit flies at my place, and another one against laundry at Eric's. Both of our places are relatively clean at the moment, I'm proud to say. And we've been cooking! The other night we made two things, an awesome curried lentil and spinach soup and a surprisingly easy cornbread, all from scratch! I am still amazed every time I make something from scratch that I used to know as only coming from a box; it's never that much more difficult and almost always tastes better.
I have also acquired a frozen turkey (apparently turkey bowling is a common pastime for those in the retail business during the busy season), which I have yet to find a purpose for. I'm caught between donating it and attempting to cook it myself, as both have the potential to be rewarding experiences. I would also love an excuse to take a stab at my great-grandmother's stuffing recipe, as I will sadly be missing it this year. An unfortunate side effect of working retail around Thanksgiving is that you're pretty much required to work Black Friday, despite any plans your family may have made to roadtrip it to Chicago for a big family gathering. Oh, well. There's always Eric's Thanksgiving to crash.
Showing posts with label Crafts. Show all posts
Friday, November 19, 2010
Thursday, October 14, 2010
Faerie Costume
This is one from a couple weeks ago, that I just haven't gotten around to posting yet. One of my friends here choreographed a belly dance ballet entitled "The Block: A Fairytale". It was a very intricate and beautiful story, focused on a writer and his quest to rediscover his creativity after losing his girlfriend to suicide. Among the many figments of his imagination was a group of four elemental faeries, consisting of myself and three other girls. I was the Air Faerie, so I needed to make a costume that represented that. This was a very exciting prospect for me--I love making costumes almost as much as I love wearing them. This goes back a long way; when I was a kid, my grandma would sew me all sorts of costumes, be they for Halloween or just playing dress-up (the most popular pastime for me and my sister). Somewhere, tucked away in a closet or attic at my parent's house, there is a costume for every Disney princess there ever was. Anyway, now that I can make the costumes myself, it's twice as fun!
The most important part of a faerie costume is, of course, the wings. Was I just going to go to a costume shop and buy them? Certainly not! I found more than a few wing-making tutorials online, my favorite of which was this one. Since it's for a TV show, it moves pretty quickly, but it's not too difficult to get the general idea. Instead of wire, which I did not have access to, I decided to use coat hangers.
Materials:
Four wire coat hangers
Pliers/wire cutters
Two pairs of queen-size pantyhose
Electrical tape
One stick incense
Cardboard
Hot glue
Acrylic paint
Rhinestones, fake flowers, ribbon, glitter, etc.
Step 1: Using some pliers and/or wire-cutters, bend the coat hanger to your desired shape. I decided against untwisting mine, and instead just bent off the hook at the top and used pliers to bend the hangers to my will. I made the two top wings wider, and the bottom wings more narrow.
Step 2: Cut the legs off of the pantyhose, and stretch them out with your hands. Carefully stretch the pantyhose over each wing shape, beginning at the top. Twist around the bottom and seal with electrical tape.
Step 3: Use an incense stick to create lacy-looking holes in the wings. Light the incense stick, and poke it through the wings in any desired pattern. Watch the video I linked to get a better idea of how this works. (Note: you can also use a cigarette, a soldering iron or a wood burner, but I can promise you that it will not smell as nice.)
Step 4: Time to decorate! The wings are generally much more easily decorated before you attach them all together, but I did some of these steps after I attached them. If you're a painting novice like myself, you may want to use a light-colored marker or pen to draw on the designs before you paint them:
Then, just mix up the colors and get to paintin'! I started out with three colors; metallic blue, metallic purple, and silver. I mixed them in varying color combinations to paint the swirly designs, and painted all around the outside of the wings, dragging color in to create a fading effect. They came out looking like this:
Step 5: Attach the wings to something. I used a cloth-covered piece of cardboard and lots of hot glue, and spent quite a bit of time playing with the angles of the wings to make sure they would sit right on my back. To cover up the mess of hot glue and electrical tape, what better to use than pretty flowers?
At this point I decided that my wings were nowhere near sparkly enough, so I added some rhinestones with tacky fabric glue:
Step 6: To attach the wings to yourself, poke four holes in the cardboard, one at each corner. String a piece of ribbon or elastic through each side, and tie on at your shoulders.
I also added some extra colorful flowers, and some long pieces of colorful ribbon to the back of the wings, to trail down my back. Here's the finished product!
Pretty nifty, huh? I'm excited that a first attempt could turn out so well.
Another new challenge for this costume was making the pants. I won't go into too much detail, but with the help of my trusty sewing machine they were surprisingly easy to make. I loosely followed this tutorial, using a bedsheet and two layers of cheap white chiffon (which, by the way, is the most annoying fabric to work with, ever). I opted to tie them in back instead of in front. They came out thusly (although the photo is kind of hard to see):
For the top I used the same bedsheet and an old pattern for a renaissance bodice I had lying around, cropped to make it more bellydance friendly. This was also a tricky undertaking, as I decided to put a canvas lining in it. I wanted to make it reversible, but suffice it to say that it didn't work out that way (armholes are weird.) I was pretty down to the wire on this one, as I had to rip it apart and start over halfway through, but luckily boys are awesome and will pound eyelets into your unfinished pieces for you while you run around gathering up the rest of your costume.
Add some body paint and lots of glitter*, and you have yourself an Air Faerie!
*Sidenote: This show was almost two weeks ago and I am still picking glitter out of my scalp.
I felt so pretty in the finished costume that it was not terribly difficult to flit merrily about and stay in character during the show. My favorite part of all of this was the body paint:
All body art for the show was done by Amber Atkisson, an absurdly talented body painter. Seriously, if you live in Columbia and ever need any sort of face/body painting done, she's your gal. She did this in about 15 minutes! In comparison, it took me hours to paint the same kinds of swirly designs on my wings.
Until I have another opportunity to dress up as a faerie, my wings will be hanging on my wall, looking pretty. Only good things came from this project (except for the horrendous mess it left in its wake:)
The most important part of a faerie costume is, of course, the wings. Was I just going to go to a costume shop and buy them? Certainly not! I found more than a few wing-making tutorials online, my favorite of which was this one. Since it's for a TV show, it moves pretty quickly, but it's not too difficult to get the general idea. Instead of wire, which I did not have access to, I decided to use coat hangers.
Materials:
Four wire coat hangers
Pliers/wire cutters
Two pairs of queen-size pantyhose
Electrical tape
One stick incense
Cardboard
Hot glue
Acrylic paint
Rhinestones, fake flowers, ribbon, glitter, etc.
Step 1: Using some pliers and/or wire-cutters, bend the coat hanger to your desired shape. I decided against untwisting mine, and instead just bent off the hook at the top and used pliers to bend the hangers to my will. I made the two top wings wider, and the bottom wings more narrow.
Step 2: Cut the legs off of the pantyhose, and stretch them out with your hands. Carefully stretch the pantyhose over each wing shape, beginning at the top. Twist around the bottom and seal with electrical tape.
Step 3: Use an incense stick to create lacy-looking holes in the wings. Light the incense stick, and poke it through the wings in any desired pattern. Watch the video I linked to get a better idea of how this works. (Note: you can also use a cigarette, a soldering iron or a wood burner, but I can promise you that it will not smell as nice.)
Step 4: Time to decorate! The wings are generally much more easily decorated before you attach them all together, but I did some of these steps after I attached them. If you're a painting novice like myself, you may want to use a light-colored marker or pen to draw on the designs before you paint them:
Then, just mix up the colors and get to paintin'! I started out with three colors; metallic blue, metallic purple, and silver. I mixed them in varying color combinations to paint the swirly designs, and painted all around the outside of the wings, dragging color in to create a fading effect. They came out looking like this:
Step 5: Attach the wings to something. I used a cloth-covered piece of cardboard and lots of hot glue, and spent quite a bit of time playing with the angles of the wings to make sure they would sit right on my back. To cover up the mess of hot glue and electrical tape, what better to use than pretty flowers?
At this point I decided that my wings were nowhere near sparkly enough, so I added some rhinestones with tacky fabric glue:
Step 6: To attach the wings to yourself, poke four holes in the cardboard, one at each corner. String a piece of ribbon or elastic through each side, and tie on at your shoulders.
I also added some extra colorful flowers, and some long pieces of colorful ribbon to the back of the wings, to trail down my back. Here's the finished product!
Pretty nifty, huh? I'm excited that a first attempt could turn out so well.
Another new challenge for this costume was making the pants. I won't go into too much detail, but with the help of my trusty sewing machine they were surprisingly easy to make. I loosely followed this tutorial, using a bedsheet and two layers of cheap white chiffon (which, by the way, is the most annoying fabric to work with, ever). I opted to tie them in back instead of in front. They came out thusly (although the photo is kind of hard to see):
For the top I used the same bedsheet and an old pattern for a renaissance bodice I had lying around, cropped to make it more bellydance friendly. This was also a tricky undertaking, as I decided to put a canvas lining in it. I wanted to make it reversible, but suffice it to say that it didn't work out that way (armholes are weird.) I was pretty down to the wire on this one, as I had to rip it apart and start over halfway through, but luckily boys are awesome and will pound eyelets into your unfinished pieces for you while you run around gathering up the rest of your costume.
Add some body paint and lots of glitter*, and you have yourself an Air Faerie!
*Sidenote: This show was almost two weeks ago and I am still picking glitter out of my scalp.
I felt so pretty in the finished costume that it was not terribly difficult to flit merrily about and stay in character during the show. My favorite part of all of this was the body paint:
All body art for the show was done by Amber Atkisson, an absurdly talented body painter. Seriously, if you live in Columbia and ever need any sort of face/body painting done, she's your gal. She did this in about 15 minutes! In comparison, it took me hours to paint the same kinds of swirly designs on my wings.
Until I have another opportunity to dress up as a faerie, my wings will be hanging on my wall, looking pretty. Only good things came from this project (except for the horrendous mess it left in its wake:)
Wednesday, September 22, 2010
Magic Deck Pouches
I've recently become involved with an exceedingly nerdy collectable card game, Magic: The Gathering. Some would say that Magic is this generation's D&D. Given the extreme nerdiness of my boy and my friends as well as my fondness for games of strategy, it was really only a matter of time before I got sucked into it. The very very basic premise of the game is to build a deck of 60 cards (from the 10,000+ cards that have been printed over the years) and play your deck against an opponent (or opponents), trying to kill him before he kills you. Of course, the rules get head-spinningly complicated, but that's the basic idea. Google it if you really want to know more.
"Now, Anna," you may ask, "What does this have to do with the domestic endeavors which you promised would be the focus of your blog?" Relax, I'm getting to it. After spending hours painstakingly building my very first deck (a red-blue Madness deck, for all you Magic players out there), I realized that I had nowhere to put it. My boy has a fancy carrying case with a foam insert, in which he can fit 14 decks and a big ol' pile of dice. That seemed a bit excessive for my solitary deck. But still, was I just going to wrap a rubber band around it? Certainly not. I suppose I could have bought a deck box for it, but where's the fun in that? Also, being unemployed has been encouraging me to do things as cheaply as possible these days. So, I designed this:
Neat, huh? The fabric is something I had lying around, I believe it was a $1/yard purchase from Walmart some time ago. The lining is just plain ol' canvas, which is stiff enough to help it keep its shape. I chose the pink because it's the most ridiculous thing I had on hand, and it matches the sleeves I have on my deck:
Now, this may not be the preferred aesthetic for many Magic players, but I quite enjoy the sillyness that is a pink and black polka-dotted deck pouch. Anyway, after I had successfully executed this, I realized that many of my friends were carrying their decks around in sad store-bought contraptions, or worse, rubber bands. Conveniently, one of my friends had a birthday coming up. An opportunity to brighten her life and warm her heart, as well as try out my design on some other cool fabrics I had on hand!
I tried my best to document the process with photographs, but as this was a traveling project (it accompanied me pretty much all around the city), some steps got left out. In any case, what follows is my best attempt at a scientific documentation and tutorial on the process.
1) Choose two fabrics that you like, one for the pouch and one for the lining. I found this really cool faux stamped leather in my pile of extra fabric pieces. For the lining I used some black suede.
2) Cut out your pieces from the lining fabric. I used three pieces to form the pouch; a 1.75"x 10.75" piece for the bottom and sides, a 3.25"x 4.25"piece for the front, and a 3.25"x 7.75" piece for the back and flap. *
3) With a ruler, mark a 1/4" border around the wrong side of your pieces in pencil. This will dictate where you sew your seams, especially if you're doing it by hand (which I did). I'd recommend cutting off the corners, where the lines intersect.
4) Determine the mid-points of the bottom piece and the back piece, and sew together along the 1/4" seam line, with the wrong sides facing out as shown above.
5) Repeat step 4 with the front piece, attaching it in the same way to the bottom piece. You'll end up with a strange cross-looking thing that looks nothing like a pouch yet.*
6) Sew the remaining edges together to form the four side corners of the pouch.
7) Repeat steps 2-6 with the outside fabric. At this point it may be useful to press or sew the seams open, so they lay nicely. *
8) Turn the outer pouch right-side out, and slip the liner into the outer pouch so that the wrong sides/seams of both parts are pressed flush against each other and out of sight.
9) Fold the top edges of the front and sides of the outer pouch over the lining (it may be useful to snip off 1/4" off the top of the lining for easy folding) and (neatly) sew all the way around.
10) Repeat step 9 with the flap. For both of my pouches I decided to cut off the corners of the flap to make it less square, but a square flap could also work.
11) To close the flap, you have a couple options. For my first pouch I hand-sewed a button hole into the flap and attached a button on the front of the pouch, as per directions I found here. For the second one, I simply made a loop with some fancy cord and sewed it onto the top edge of the flap, then looped it around an equally fancy button sewn onto the front of the pouch.
Here's the finished product:
Notes:
-For my first pouch I had the bottom/sides piece 1/2" wider, so it was 2.25"x 10.75". Even on my deck with sleeves, it still has a bit of extra room. This new size should work a little better, especially on an unsleeved deck.
-After sewing the front and back pieces to the bottom, it helps to make a small 1/4" snip on the bottom piece right where the corner is cut off of the front/back piece, for ease in sewing up the sides.
- In order for the lining to lay nicely inside of the pouch, I had to sew all of the seams open on both pieces. It would have been much easier to do this as I went instead of when they were already constructed, as the bottom edges are quite hard to get to once you've sewn the whole thing together. I would have pressed them open instead, but the darn things are so small!
I will probably have to make more of these as I build new decks, as they are tons of fun and a pretty quick little project. Also, if I know you and you play Magic, odds are you'll be getting one of these for Christmas.
Subscribe to:
Posts (Atom)