The most important part of a faerie costume is, of course, the wings. Was I just going to go to a costume shop and buy them? Certainly not! I found more than a few wing-making tutorials online, my favorite of which was this one. Since it's for a TV show, it moves pretty quickly, but it's not too difficult to get the general idea. Instead of wire, which I did not have access to, I decided to use coat hangers.
Materials:
Four wire coat hangers
Pliers/wire cutters
Two pairs of queen-size pantyhose
Electrical tape
One stick incense
Cardboard
Hot glue
Acrylic paint
Rhinestones, fake flowers, ribbon, glitter, etc.
Step 1: Using some pliers and/or wire-cutters, bend the coat hanger to your desired shape. I decided against untwisting mine, and instead just bent off the hook at the top and used pliers to bend the hangers to my will. I made the two top wings wider, and the bottom wings more narrow.

Step 2: Cut the legs off of the pantyhose, and stretch them out with your hands. Carefully stretch the pantyhose over each wing shape, beginning at the top. Twist around the bottom and seal with electrical tape.


Step 3: Use an incense stick to create lacy-looking holes in the wings. Light the incense stick, and poke it through the wings in any desired pattern. Watch the video I linked to get a better idea of how this works. (Note: you can also use a cigarette, a soldering iron or a wood burner, but I can promise you that it will not smell as nice.)

Step 4: Time to decorate! The wings are generally much more easily decorated before you attach them all together, but I did some of these steps after I attached them. If you're a painting novice like myself, you may want to use a light-colored marker or pen to draw on the designs before you paint them:


Then, just mix up the colors and get to paintin'! I started out with three colors; metallic blue, metallic purple, and silver. I mixed them in varying color combinations to paint the swirly designs, and painted all around the outside of the wings, dragging color in to create a fading effect. They came out looking like this:

Step 5: Attach the wings to something. I used a cloth-covered piece of cardboard and lots of hot glue, and spent quite a bit of time playing with the angles of the wings to make sure they would sit right on my back. To cover up the mess of hot glue and electrical tape, what better to use than pretty flowers?

At this point I decided that my wings were nowhere near sparkly enough, so I added some rhinestones with tacky fabric glue:

Step 6: To attach the wings to yourself, poke four holes in the cardboard, one at each corner. String a piece of ribbon or elastic through each side, and tie on at your shoulders.
I also added some extra colorful flowers, and some long pieces of colorful ribbon to the back of the wings, to trail down my back. Here's the finished product!

Pretty nifty, huh? I'm excited that a first attempt could turn out so well.
Another new challenge for this costume was making the pants. I won't go into too much detail, but with the help of my trusty sewing machine they were surprisingly easy to make. I loosely followed this tutorial, using a bedsheet and two layers of cheap white chiffon (which, by the way, is the most annoying fabric to work with, ever). I opted to tie them in back instead of in front. They came out thusly (although the photo is kind of hard to see):

For the top I used the same bedsheet and an old pattern for a renaissance bodice I had lying around, cropped to make it more bellydance friendly. This was also a tricky undertaking, as I decided to put a canvas lining in it. I wanted to make it reversible, but suffice it to say that it didn't work out that way (armholes are weird.) I was pretty down to the wire on this one, as I had to rip it apart and start over halfway through, but luckily boys are awesome and will pound eyelets into your unfinished pieces for you while you run around gathering up the rest of your costume.
Add some body paint and lots of glitter*, and you have yourself an Air Faerie!

*Sidenote: This show was almost two weeks ago and I am still picking glitter out of my scalp.
I felt so pretty in the finished costume that it was not terribly difficult to flit merrily about and stay in character during the show. My favorite part of all of this was the body paint:

All body art for the show was done by Amber Atkisson, an absurdly talented body painter. Seriously, if you live in Columbia and ever need any sort of face/body painting done, she's your gal. She did this in about 15 minutes! In comparison, it took me hours to paint the same kinds of swirly designs on my wings.
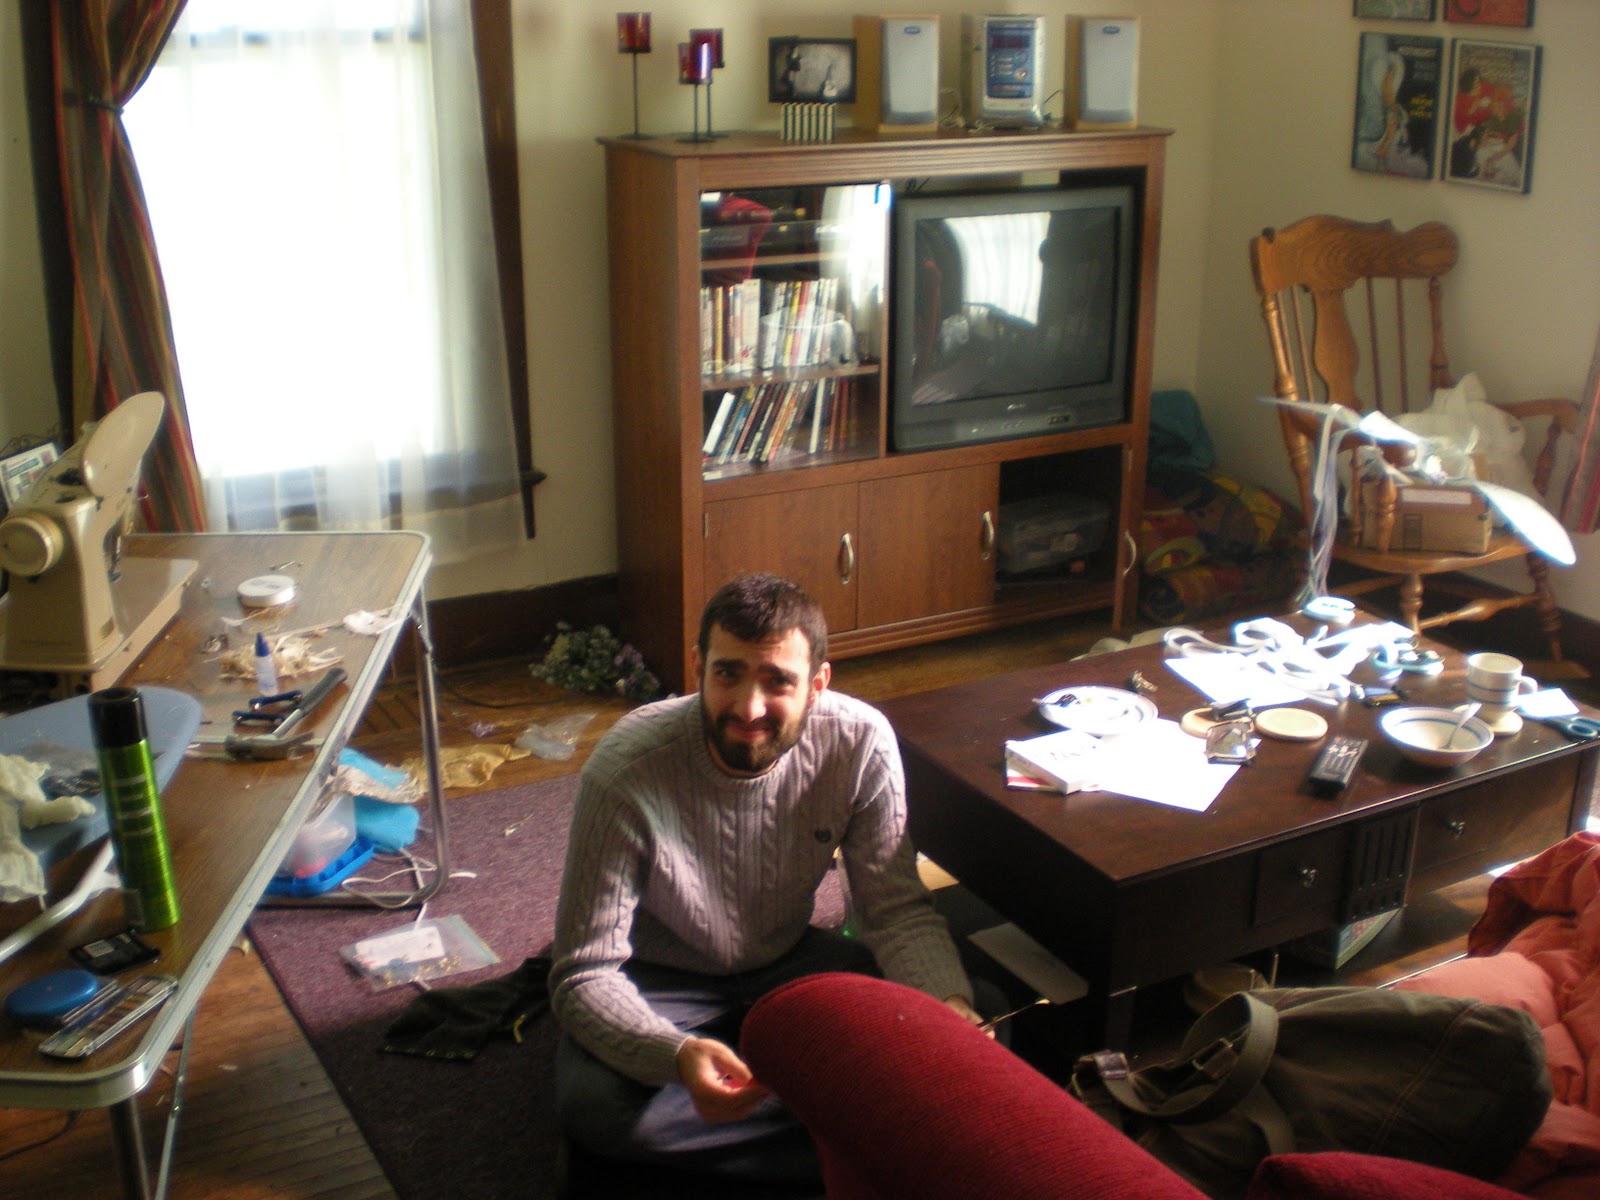
Until I have another opportunity to dress up as a faerie, my wings will be hanging on my wall, looking pretty. Only good things came from this project (except for the horrendous mess it left in its wake:)
No comments:
Post a Comment